
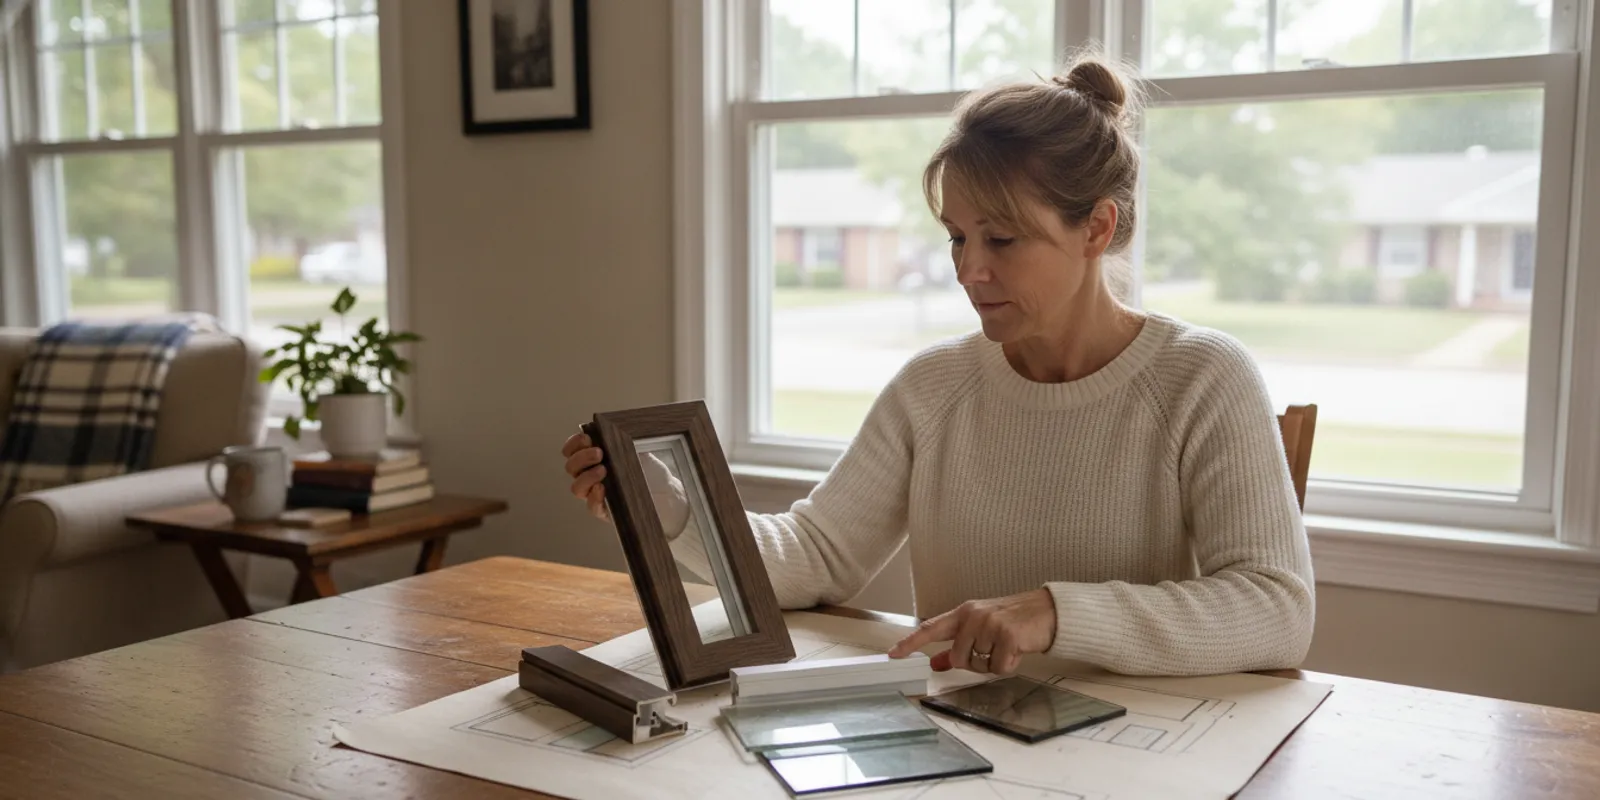
Planning residential window installation is easier when you turn a general concern into a clear project brief. Before choosing a style or requesting an estimate, note which rooms are affected, what you want to improve, and which decisions still need professional review. This guide focuses on preparation and comparison for South Jersey homeowners; for an overview of the replacement service itself, see our window replacement service guide.
What should you decide before planning residential window installation?
Start with the reason you are considering new windows. You may want a window that opens more easily, a different appearance, more comfortable rooms, or a change in how daylight and ventilation work in a space. These goals can overlap, but it helps to rank them. If operation is the priority, for example, begin by identifying which windows are difficult to open or close. If appearance comes first, collect examples of the frame color or grille pattern you prefer.
Walk through the home and list only the openings you are considering. For each one, write the room, approximate location, current style if known, and the concern or goal. Mark the list with a simple priority such as “address first,” “include if practical,” or “future phase.” That makes it easier to discuss a smaller, clearly defined project as well as a whole-home plan.
- Which rooms and openings belong in the project?
- What is the main goal for each opening?
- Do you prefer a consistent appearance or different choices by room?
- Are there household routines, access needs, or timing preferences to discuss?
- Which decisions are fixed, and where would you like recommendations?
A short list is more useful than trying to solve every product detail in advance. You can review common window types to learn the vocabulary, then ask which styles suit the actual openings.
How can you organize the openings room by room?
Use one row per window rather than one row per room. A bedroom may have more than one opening, and those windows may face different directions or serve different purposes. Give each opening a simple label, such as “upstairs front bedroom, left window.” Use the same label in photos, notes, and later proposal questions. This small step helps prevent uncertainty about which product or concern a comment refers to.
Keep observations separate from assumptions. “The sash is hard to move” is a useful observation. “The frame must be replaced” is a conclusion that needs assessment. Likewise, note visible moisture, damaged trim, or a draft sensation without deciding what caused it. A contractor can review the opening and explain what the proposed work addresses. Sharing the location and timing of a concern is more helpful than guessing at its source.
For a multi-room project, identify patterns as well as exceptions. Perhaps most openings are the same size and style, while one room has a wider picture window. Perhaps the front elevation has a coordinated appearance you want to preserve, while a less visible room has different priorities. Those distinctions let you discuss a consistent overall plan without assuming every opening needs the same product.
Which window details should you compare?
Begin with operation. Double-hung windows move vertically, casement windows open outward, and picture windows are fixed rather than designed to open. Sliding, awning, bay, and bow styles each have different forms and uses. The name alone does not establish that a style will fit a particular opening, so treat it as a topic for discussion, not a final selection.
Think through everyday use. Is the window easy to reach? Do you want an operable sash in that room? Would an outward-opening unit affect a nearby path, planting area, or other feature? How much of the view do you want to frame? Who will operate and clean it? These questions can surface practical preferences before you focus on finish options.
Frame material, color, glass, hardware, and grille pattern are separate choices. Ask which options are available for the proposed unit and whether a selection changes the scope. If a particular appearance matters, bring a photo or sample reference. The window and door brands page can help you prepare product questions, but confirm the actual product and configuration in the written proposal.
| Planning factor | What to compare | Question to ask |
|---|---|---|
| Operation | How the sash or panel opens, closes, and locks | Will this style work for this room and opening? |
| Frame and finish | Available material, color, and care considerations | Which finishes are offered for this product? |
| Glass | Appearance, privacy, and stated performance options | What glass configuration is included? |
| Hardware | Lock, handle, and ease of operation | Which hardware is part of the proposal? |
| Scope | Opening count, removal, installation, and finish work | What is included and excluded? |
When energy use is one of your priorities, ask what the selected glass and product configuration are intended to provide. ENERGY STAR offers product information and efficiency criteria; use its official program site as a reference, then verify the exact product details and any applicable label with the contractor. A label or general product description does not replace a project-specific explanation.
What should you photograph and record before an assessment?
Photographs help connect your notes to the right opening. Take a straight-on image of the full window from inside, including enough of the surrounding wall and trim to show context. If it is safe and easy to do so, take an outside view as well. Do not climb, remove trim, or attempt to inspect a hard-to-reach area for the sake of a photo. A clear view from a safe location is enough to support the conversation.
Name files using the room labels from your list. Then add a short note describing what the image shows. For example: “Kitchen, east wall: window is difficult to latch,” or “Front bedroom: preference is a lighter frame.” Include when a concern appears if that information is useful. A draft noticed on a windy day or moisture seen after particular weather can be documented as an observation, without asserting a cause.
- Make a room-by-room opening list and label every window.
- Photograph the complete opening and nearby trim.
- Record operating concerns, visible damage, or changes you have noticed.
- Collect inspiration images for styles, finishes, or grille patterns.
- Write down questions about access, removal, cleanup, and schedule.
Homeowner measurements can be useful notes, but do not treat them as final order dimensions. The assessment should confirm measurements and site conditions. If you have several different shapes or sizes, label them carefully rather than relying on memory. You can also look at the completed project gallery to help explain an appearance you like; an example photo is a visual reference, not a promise that the same configuration fits your home.
What should you ask during an in-home assessment?
Use the visit to test your assumptions and resolve the questions that cannot be answered from a photo. Walk through the opening list together. Ask the estimator to confirm which windows are in scope, note any conditions that change the proposed work, and explain where product choices remain open. If you have different goals for different rooms, make that distinction explicit rather than asking for one solution across the house.
Ask how the proposed unit operates and what frame, glass, finish, grille, and hardware selections are included. If energy performance matters, ask for the product details in plain language and how they relate to the goal you described. If the window is near a walkway, furniture, or landscaping, raise that context. The point is not to arrive with technical answers; it is to make sure the recommendation responds to the way the opening is used.
Before the visit ends, ask what happens next. Find out whether additional selections or measurements are needed before the written proposal is complete, how questions or changes are documented, and whom to contact. If your home is in South Jersey or the greater service area, the service-area page provides a starting point for confirming coverage. Confirm the details for your address directly.
How can you compare residential window installation proposals?
Compare proposals by matching the scope first, then compare product and work details. A lower total is not an apples-to-apples comparison if it covers fewer openings or leaves important work unspecified. Ask each contractor to identify the units by room or opening, and make sure the same requested options are being compared. If something is not included, have that stated rather than assuming it will be handled later.
| Proposal item | What to verify | Why it matters |
|---|---|---|
| Opening list | Room, quantity, style, and any unique opening notes | Confirms the same project is being compared |
| Product selection | Manufacturer, frame, glass, finish, grille, and hardware | Clarifies what product configuration is offered |
| Installation work | Removal, setting, sealing, trim, and disposal details | Defines the work expected at the home |
| Preparation and access | Homeowner tasks, work area, and material staging | Helps the household plan for the visit |
| Schedule | Expected sequence and any open dependencies | Reduces uncertainty about timing and coordination |
| Terms and coverage | Written warranty details, limitations, and proposal terms | Shows what the document says after installation |
| Estimate details | Included selections, allowances, exclusions, and changes | Makes the stated amount easier to interpret |
Read each proposal with your opening list beside it. Mark every item as confirmed, unclear, or not included. Send questions in one grouped message and request written answers. If two documents use different language for similar work, ask what that language means in practice. Do not fill gaps with assumptions or compare only a per-window amount when product choices and work scope differ.
If you are considering financing, review the written terms and confirm which options apply to your project. Cosello provides financing information; ask directly about current availability and applicable terms. Avoid treating a general description as a commitment about a particular plan or approval.
What can affect the estimate and project scope?
The estimate is based on the project as assessed. The number and type of openings, selected products and features, and work required at the home all influence the proposal. Existing conditions and the extent of finishing work may also matter. A broad online figure cannot determine what a specific house needs, so ask for the written scope that corresponds to your openings and selections.
Use a change question to understand how choices may affect the proposal: “If we select this frame finish or add this opening, what changes in the scope and estimate?” Ask how the contractor documents revisions and whether a selection must be finalized before ordering. This keeps the decision connected to a real product and project rather than a vague allowance. Do not authorize work based on an assumption that an unlisted task is included.
For a project that may be divided into stages, ask whether separate phases can be described clearly. A phase plan should identify which openings are included now, which remain for later, and whether the product choices and appearance remain coordinated. This can help you prioritize the most important rooms without confusing a future idea with the current agreed scope.
How should you prepare the home for installation?
After the scope and schedule are confirmed, ask for a specific preparation list. Common household planning includes moving furniture and fragile items away from windows, clearing a route to the work area, and keeping children and pets away from active work. Ask whether window coverings should be removed and who is responsible for each task. Confirm expectations rather than assuming every household preparation is included in the crew’s work.
Consider how the project will affect normal routines. If you work from home, have a sleeping schedule to protect, or need access to a particular room, mention that before the date is finalized. Ask where materials may be staged and how the work will move between rooms. If there are narrow paths, parking limitations, or items that cannot be moved easily, explain them early so the plan can account for them.
It may help to prepare one room at a time. Move small items from the sill and nearby surfaces, clear the floor area, and protect personal belongings you do not want near the work zone. Keep the labelled opening list available in case a question arises. Ask what protection and cleanup are included, and whether any specific care is required after the installation. The residential window service page outlines the service; confirm the arrangements for your own project with the team.
What should you check on installation day and afterward?
At the start, review the plan for the day: which rooms are included, where work begins, and how questions will be handled. Keep pets and children away from work areas and make sure the agreed path is clear. If you notice a mismatch between the room label, product selection, or written scope, pause to ask before the work proceeds at that opening. A clear question at the right time is easier to resolve than an assumption.
When the work is complete, use the opening list to walk through the project. Check that each planned window was addressed and ask the installer to explain operation and locking. Note any question you want clarified and ask how it will be recorded or followed up. Keep the proposal, product details, warranty information, and written answers together so you can refer to them later.
Make a note of any care instructions provided for the selected product and finish. If you are unsure about a feature, ask for a demonstration instead of trying to force a sash or hardware component. This final review is also a useful time to confirm that you understand whom to contact with a later question.
How do priorities change from one home to another?
Consider a homeowner who mainly wants easier operation in two upstairs bedrooms. The useful first step is to identify those specific windows and describe what happens when they are used. That person may value accessible hardware and an operating style that suits the room. A whole-home conversation about color and glass can wait until the key practical issue is understood.
Now consider a homeowner planning a consistent exterior appearance across several rooms. That person may collect photos of the current elevations, decide which visual details should remain consistent, and ask whether the same frame finish and grille choices are available across the selected units. The assessment can identify exceptions. The important point is to compare a coordinated plan rather than selecting each window in isolation.
For a homeowner with a limited immediate scope, a labelled inventory helps distinguish “now” from “later.” Ask whether the current proposal can state the first-phase openings clearly and what assumptions would need to be revisited for a future phase. These examples show why there is no universal best window or proposal. A sound comparison begins with the homeowner’s priorities and ends with written details that fit the actual project.
How can you keep decisions organized from estimate to approval?
Keep one project record with four parts: the opening inventory, product preferences, proposal questions, and final written selections. In the inventory, identify each window by room and label. In the preferences section, separate non-negotiable needs from options you are willing to discuss. For example, “easy to operate in the guest room” may be a priority, while a particular grille pattern may be a preference. This distinction helps the conversation focus on what matters most.
When a proposal arrives, make a simple status mark beside every opening: confirmed, question pending, or not included. Use the same status for product choices such as frame color and hardware. If an item is pending, write down the exact question and who will confirm it. Avoid approving a selection based on a verbal shorthand if the document does not show what you understood.
Before accepting, compare the final written version with your notes. Check room labels, unit count, selected features, installation scope, exclusions, terms, and any schedule information. If a revision changes one opening, verify that it has not accidentally changed another part of the plan. Save the updated document and any written clarifications together. A dated record can be especially helpful when a household has several people involved in decisions.
This is not extra paperwork for its own sake. It is a practical way to prevent a preference from being mistaken for an included feature, or a future idea from becoming confused with the work currently proposed. Clear records also make a follow-up conversation more efficient because you can point to the opening and item that needs attention.
Frequently asked questions
Should I measure each window before requesting an estimate?
Record which openings are involved and take photos, but treat homeowner measurements as notes rather than final order dimensions. The assessment should confirm measurements and conditions before product selections are finalized.
Can each room have a different window style?
Different styles may be worth discussing when rooms have different uses or openings. List each preference by room and ask which choices fit the opening, the requested appearance, and the project scope.
What if I notice moisture or a draft near a window?
Write down where and when you notice it and share that information during the assessment. These observations can have different explanations, so avoid assuming that a particular product or scope will resolve the issue before it is evaluated.
How do I make proposal comparisons fair?
Compare the same openings, product features, installation work, exclusions, written terms, and schedule. Ask each contractor to explain differences in writing instead of filling in missing details yourself.
What information should I keep after the estimate?
Keep your opening list, photos, proposal, product selections, written answers, and any schedule or preparation details together. A single project record makes it easier to check decisions and ask focused follow-up questions.
What is the practical next step?
Use your room-by-room list to choose the first set of questions you want answered. If you are still deciding which needs should come first, review the company’s company information and service pages, then bring your priorities to the assessment. A clear written scope is the basis for comparing options and planning the work.
With labelled openings, useful photos, and written answers to your key questions, you can make a more informed decision about residential window installation for your home.